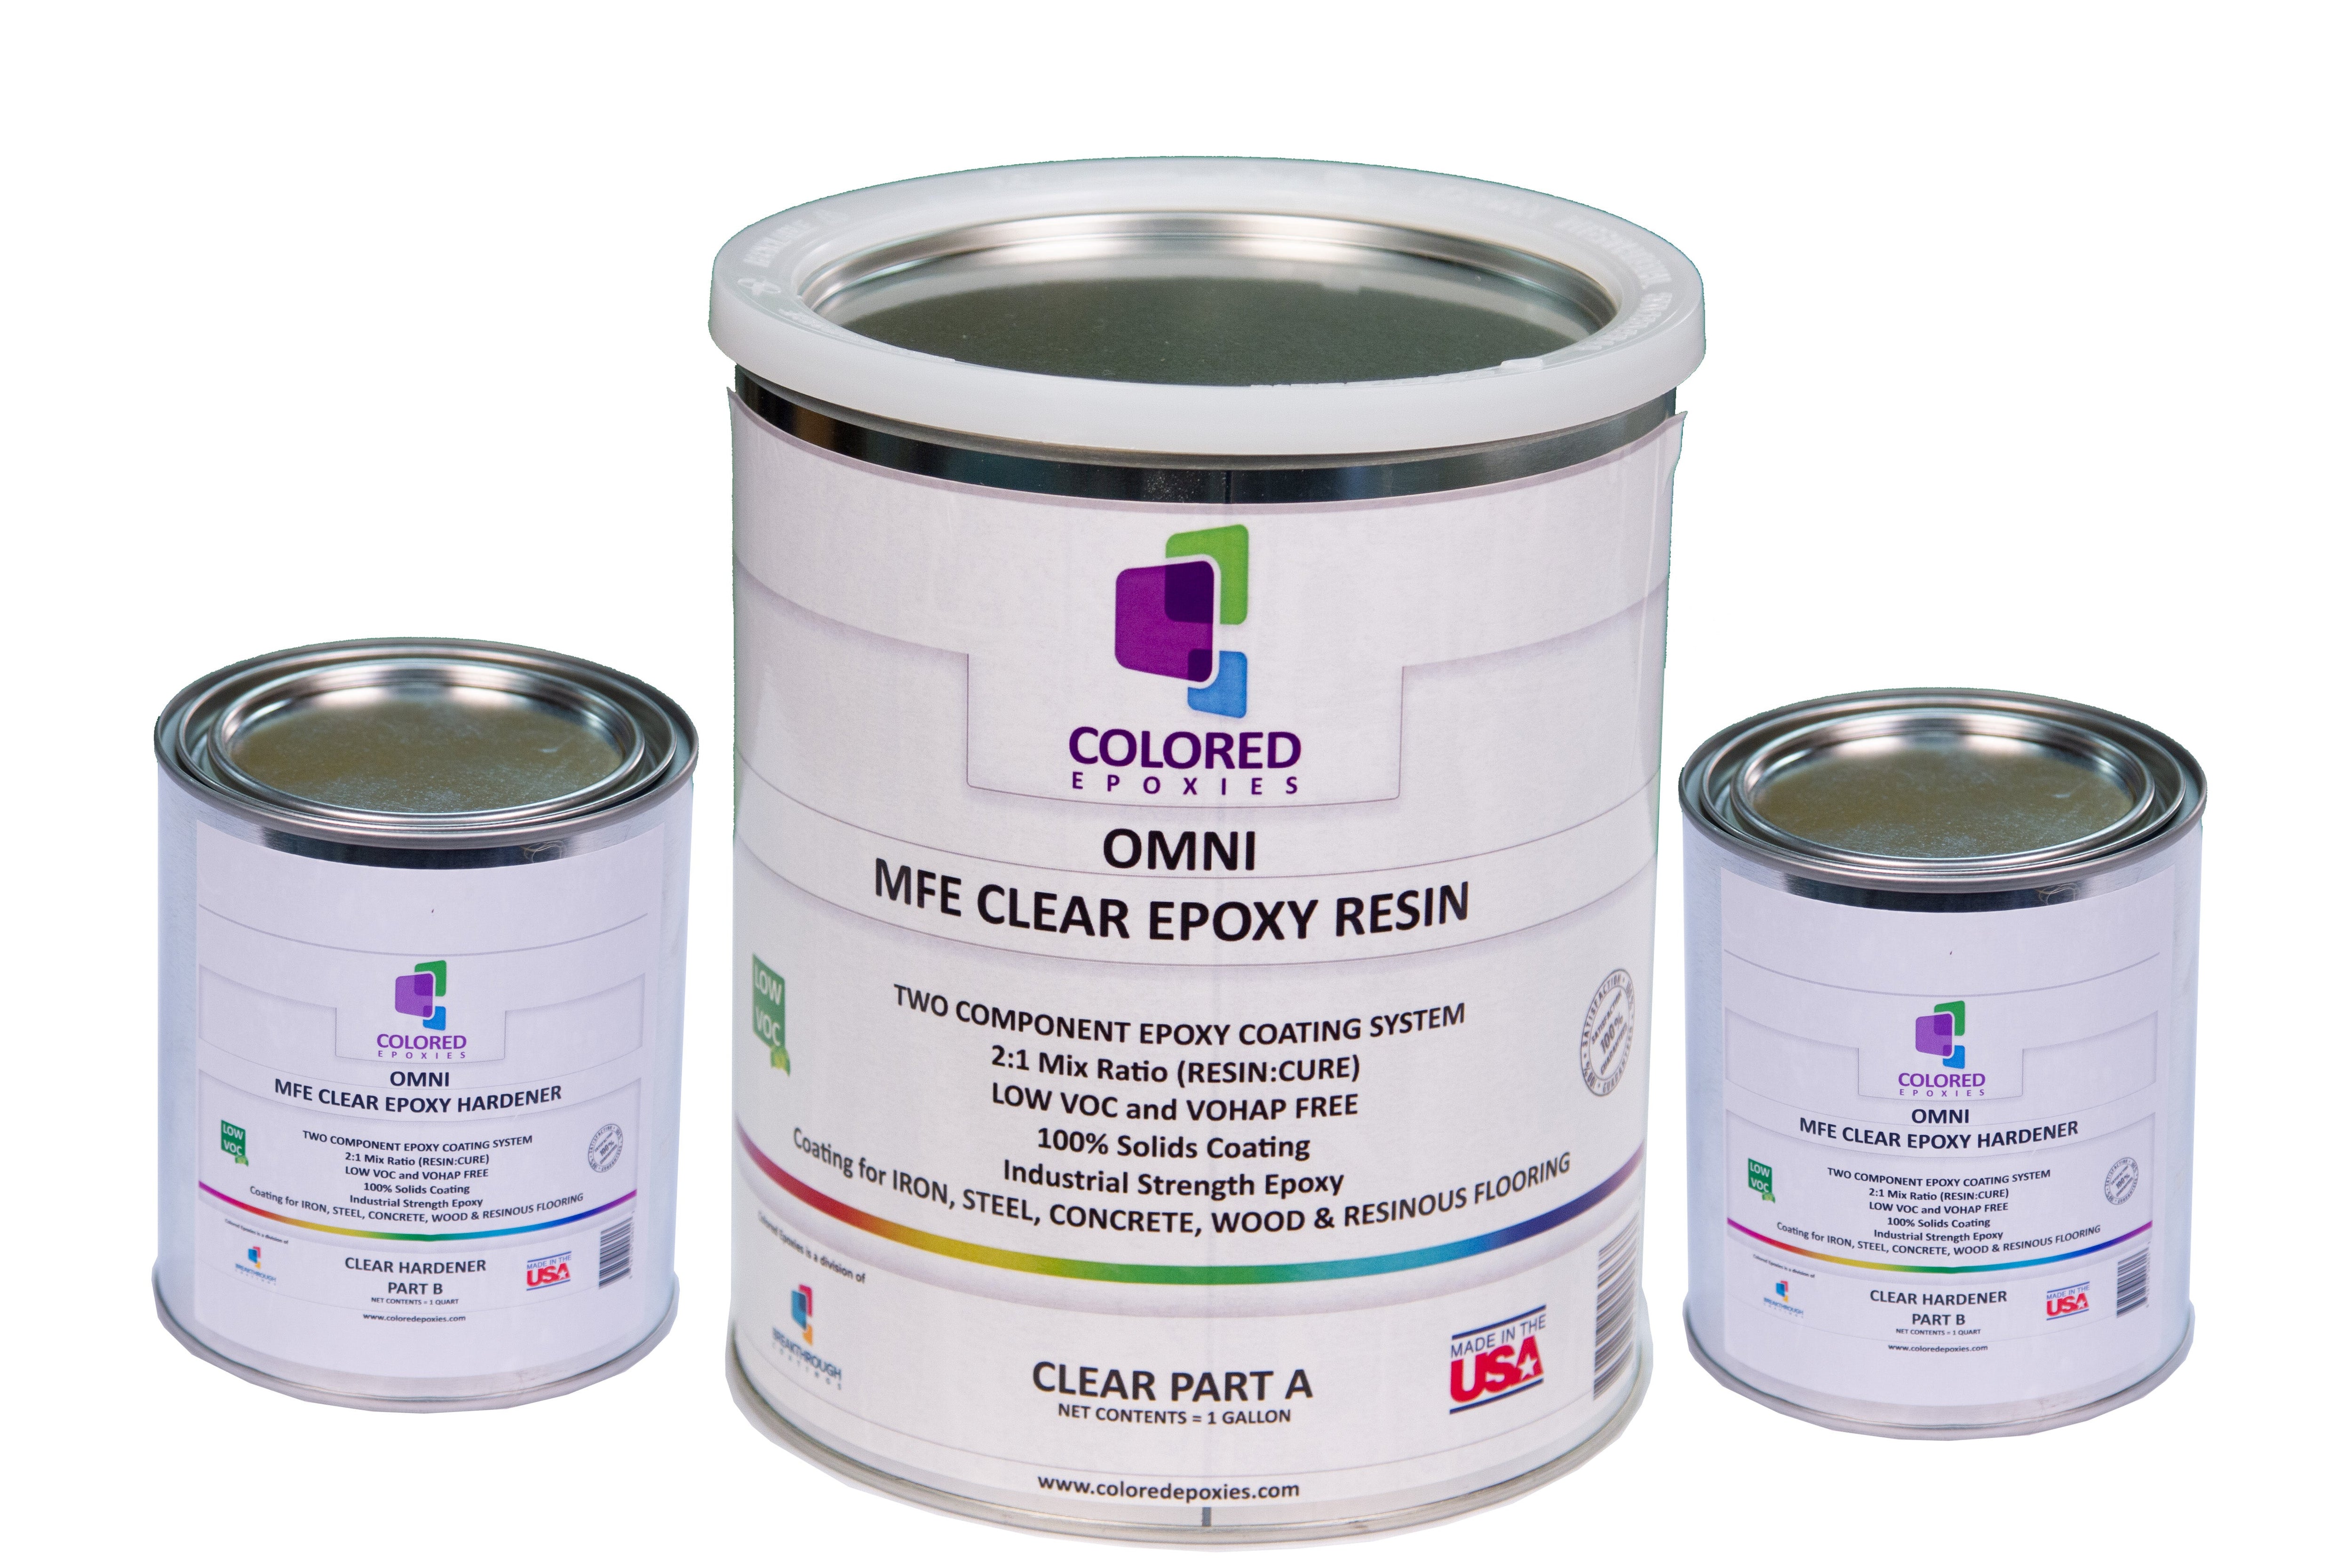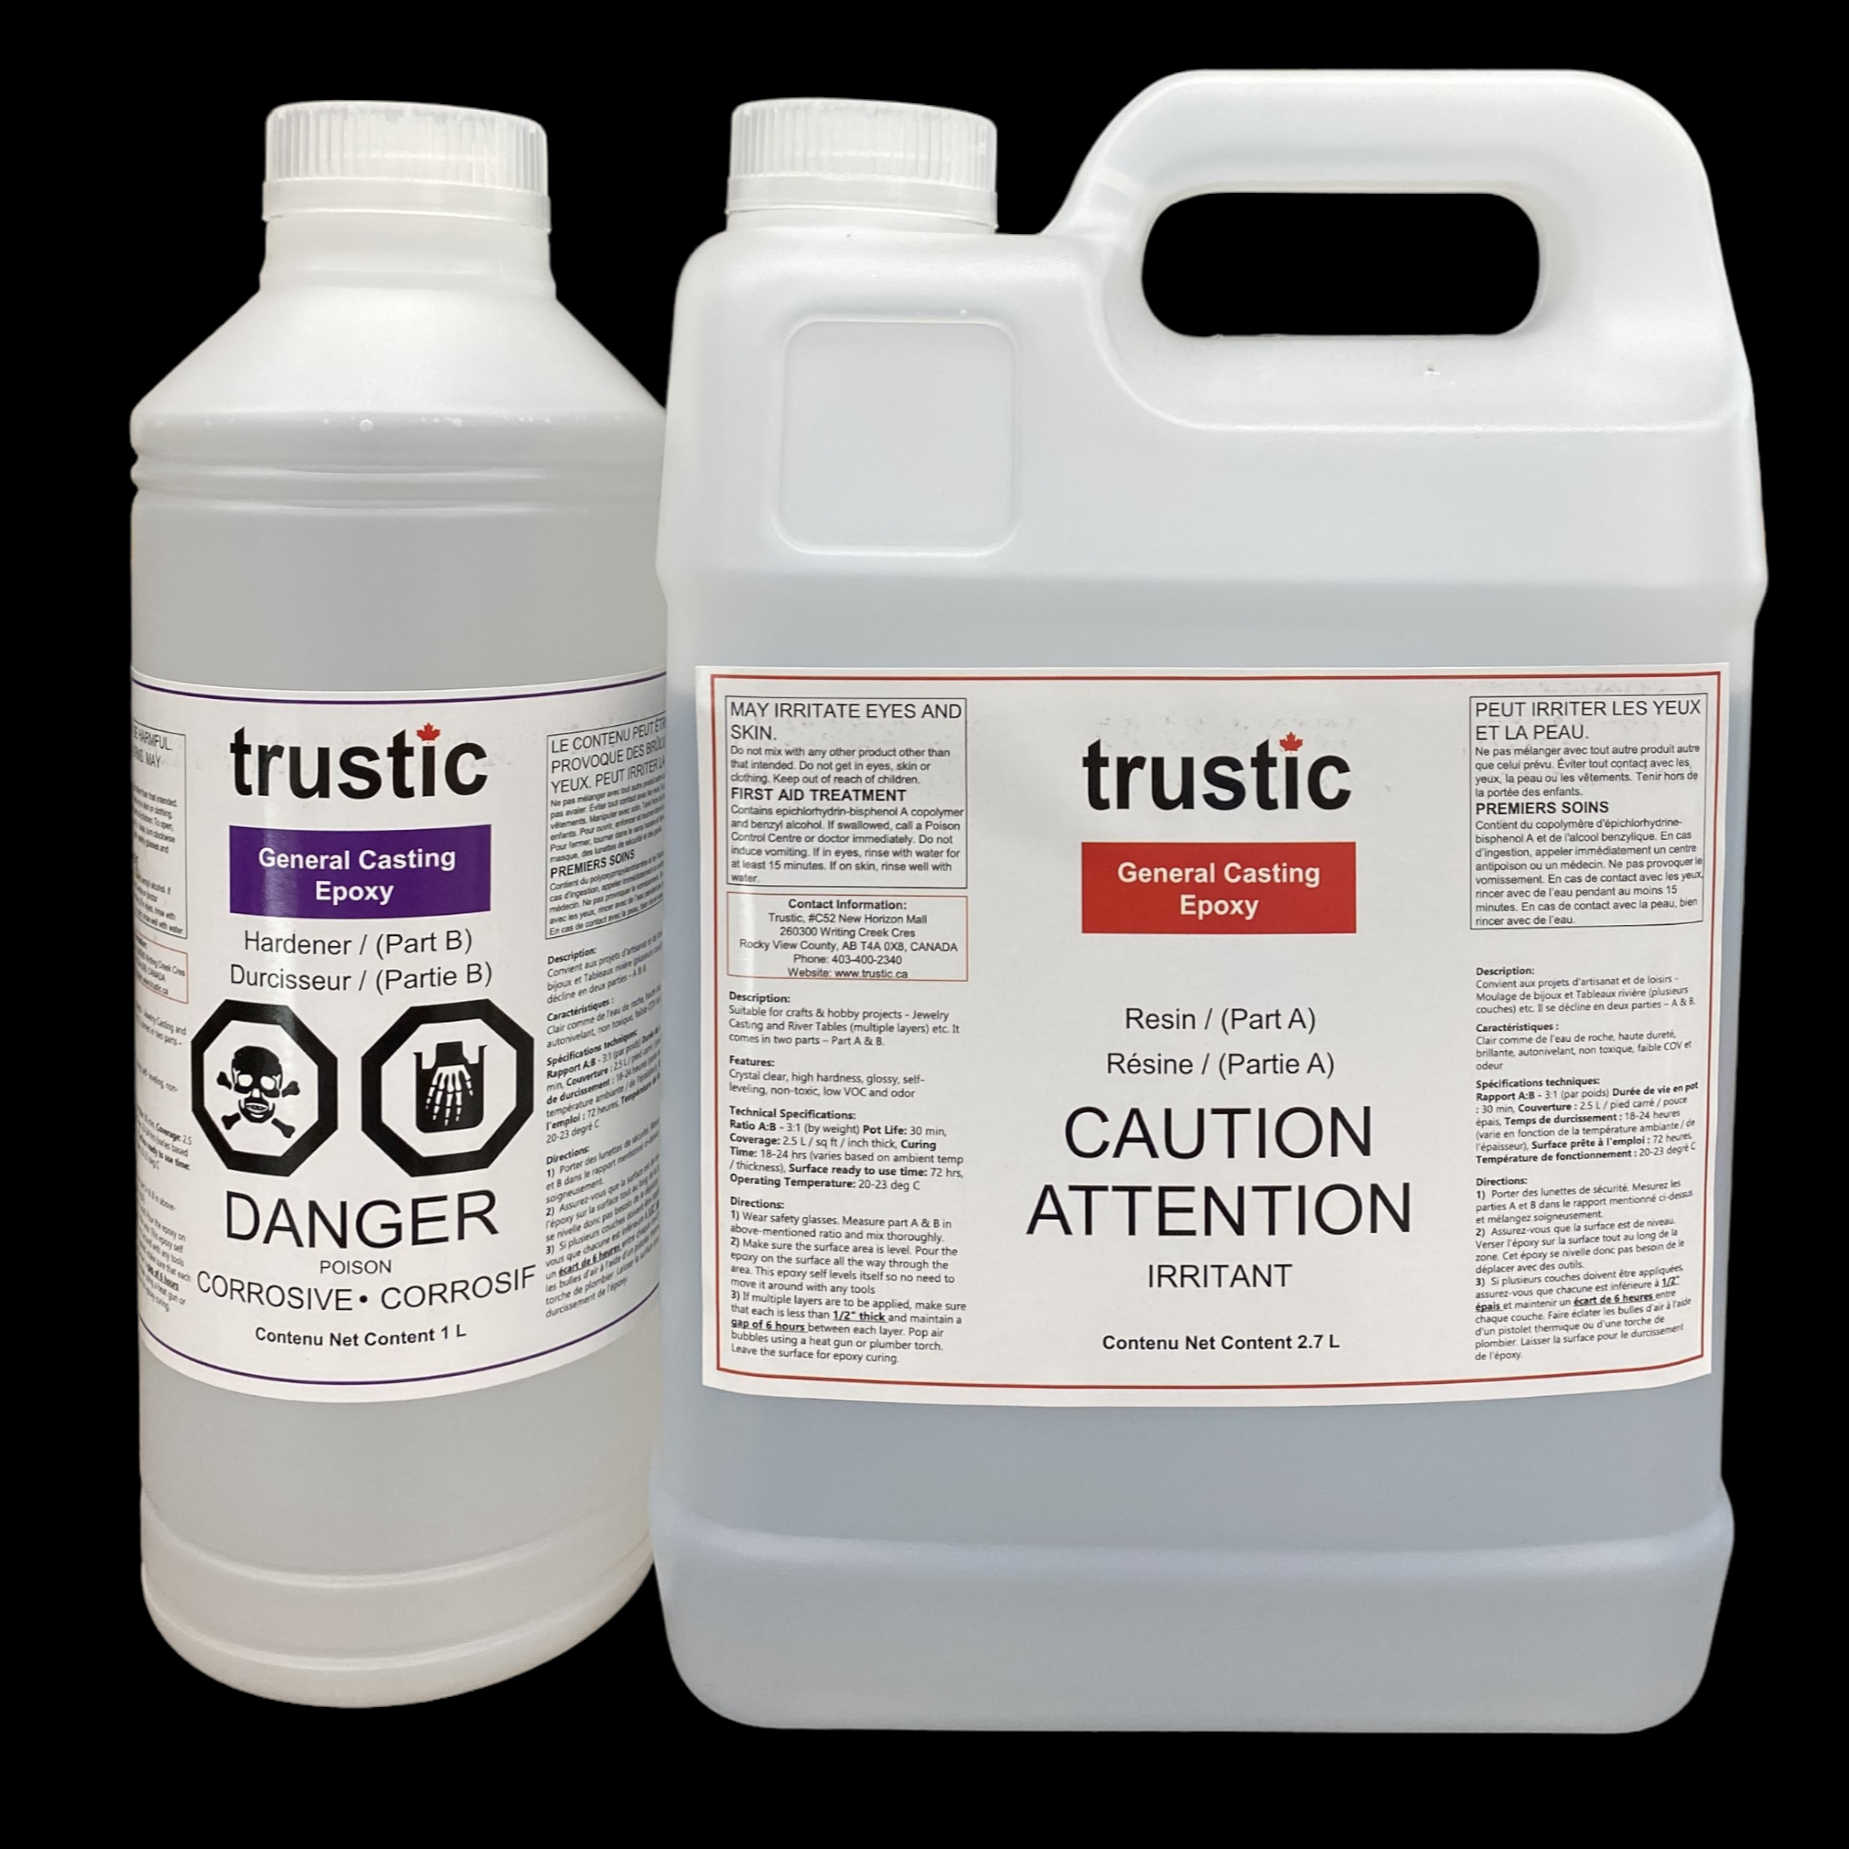
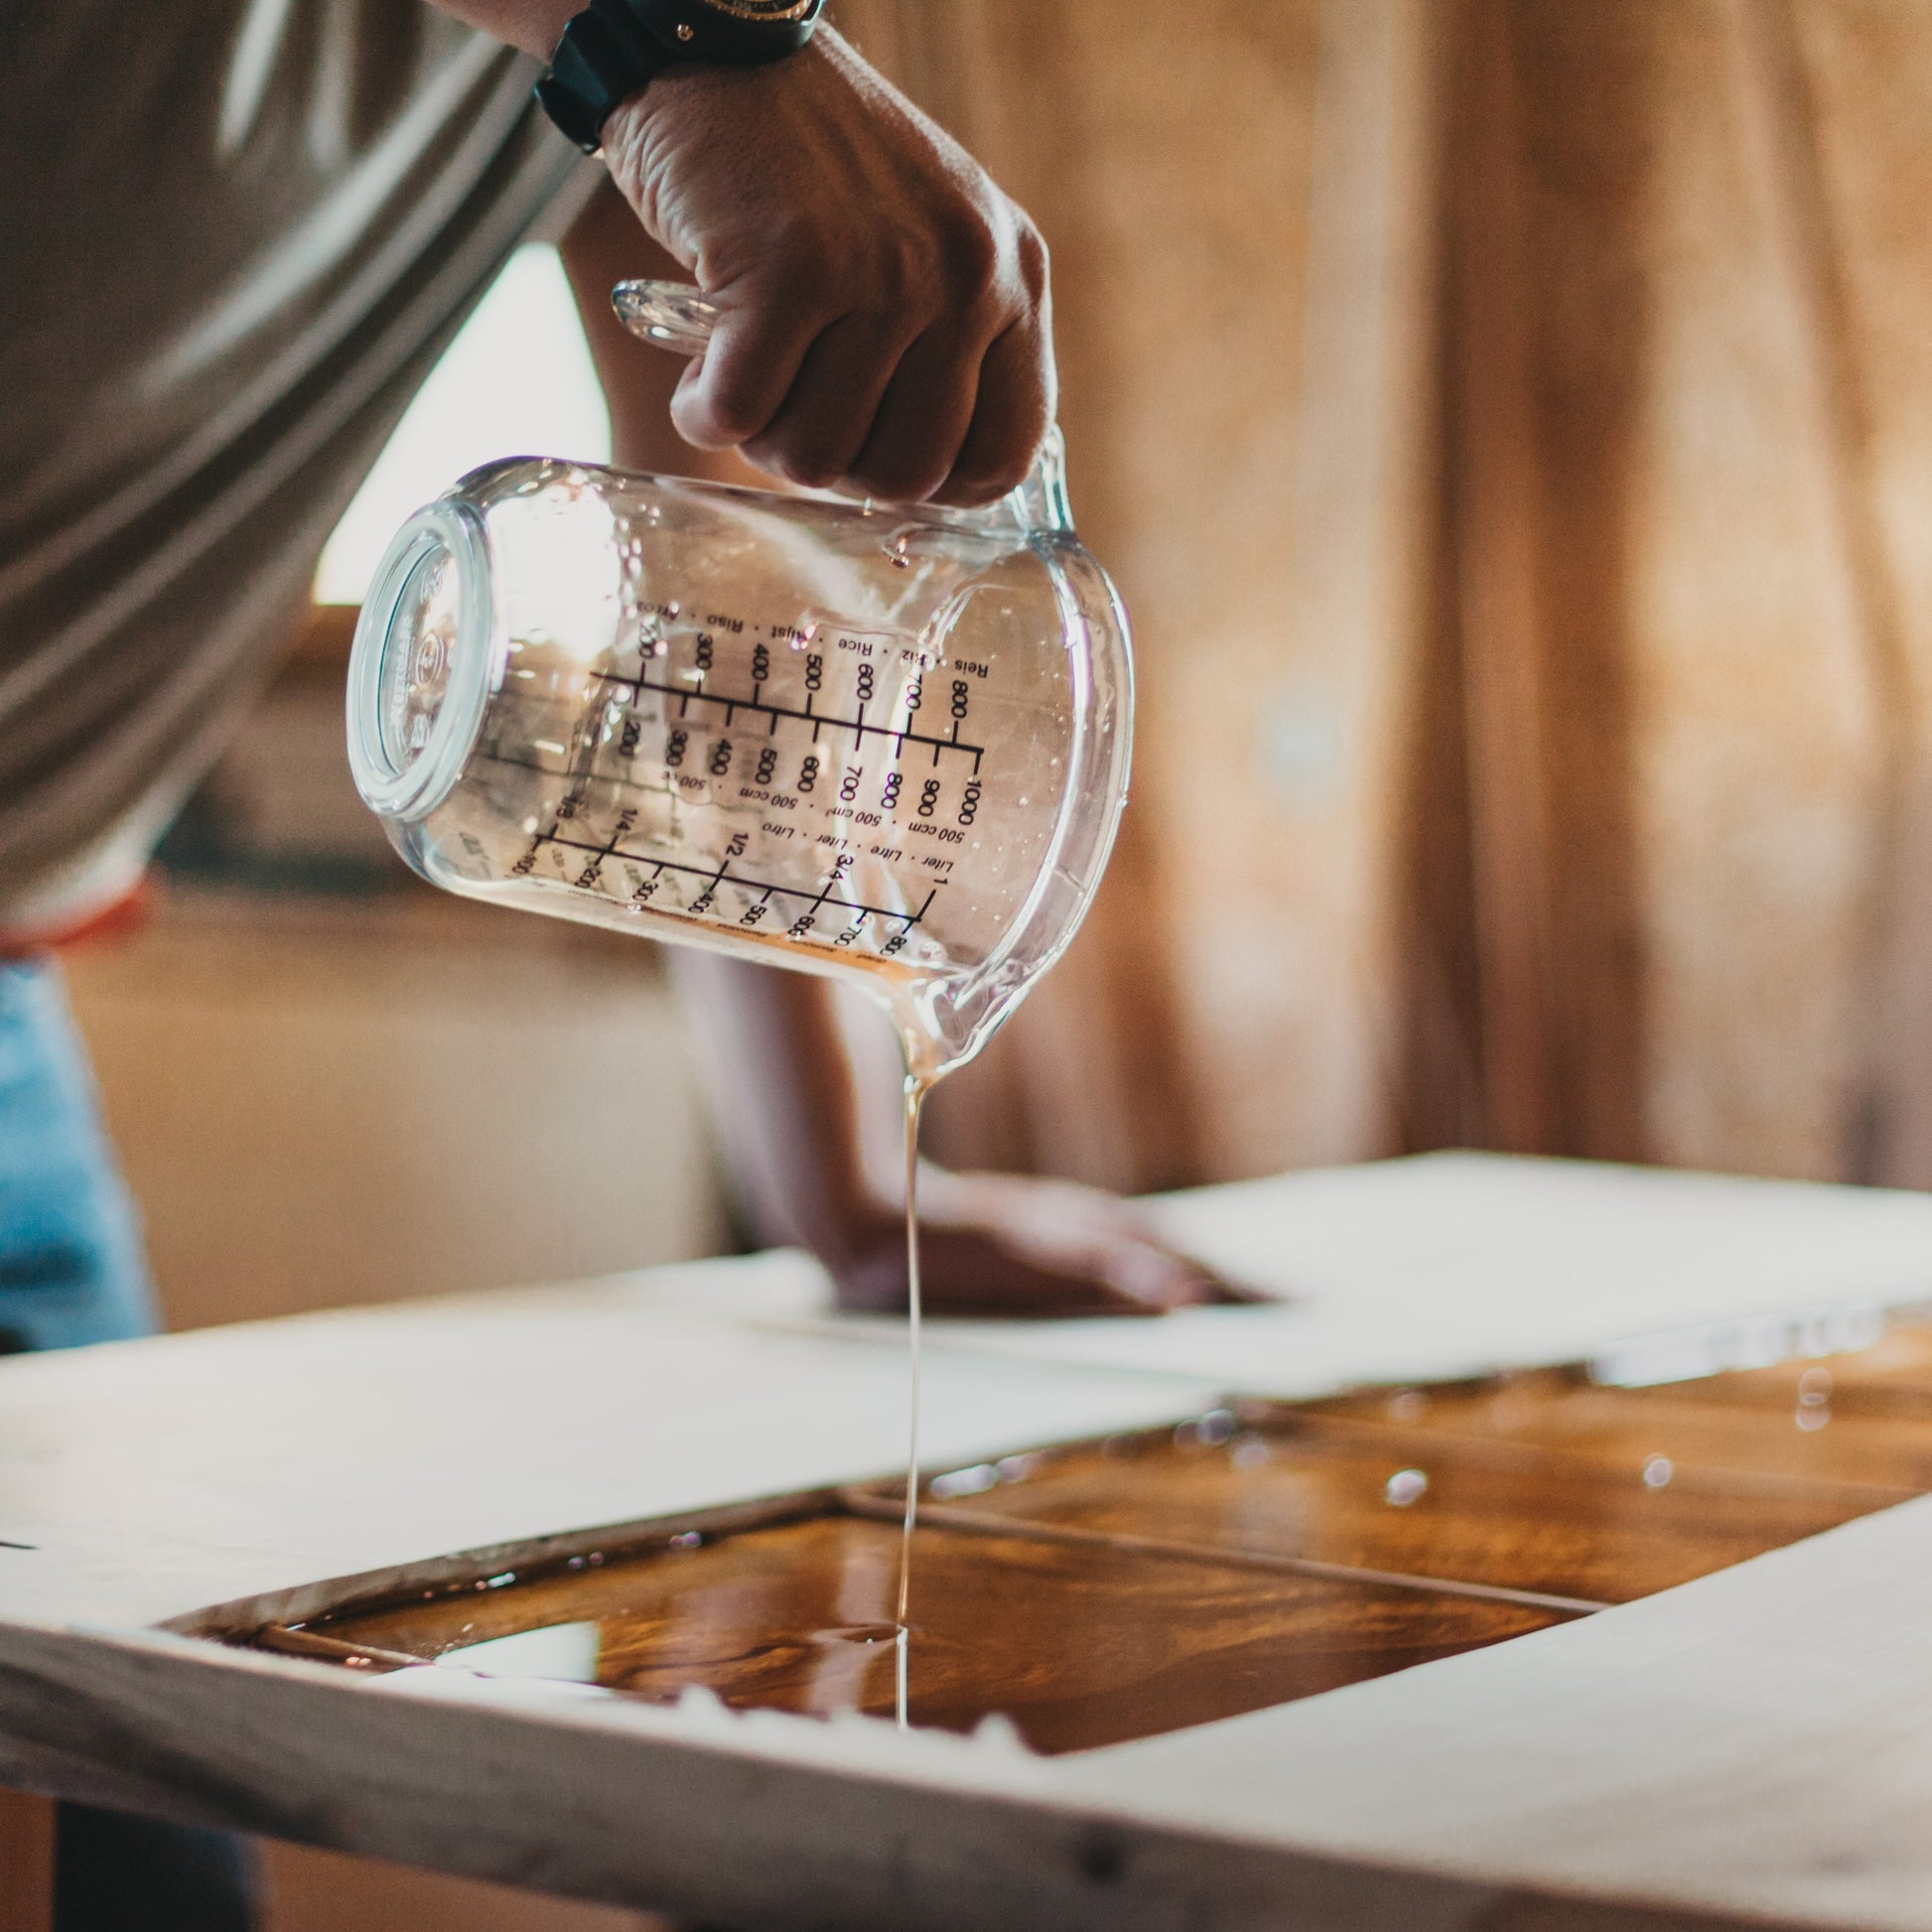
Crystal Clear Casting Epoxy Resin: Suitable for most crafts and hobby projects such as Jewelry Casting, River Tables, Canvas Painting and Coins casting purposes etc. It comes in two parts - Resin & Hardener. These two parts MUST be mixed in precise ratio and mixed well to get best results.Features:Crystal clear, high gloss and transparentAutomatic leveling and anti-foamingLow set-to-touch and cure timeGoes well with pigments of all colorsNon toxic, low odor and low VOCHigh hardness after dryingGlossy like mirrorTechnical Specifications:Ratio A:B: 2.7 : 1 (by volume)Pot Life: 30 minCoverage: 0.8 Kg required for 1 mm thickness of 1 square meter areaSet to touch time: 12 hrsCuring Time: 18 hrs (varies based on ambient temp / humidity / thickness)Surface ready to use time: 72 hrsDirections:Step 1: Wear safety glasses and gloves. Measure 2.7 parts of part A and 1 part of part B by volume. Mix thoroughly.Step 2: On porous objects such as made out of wood, paint a seal coat of same epoxy mixture of A & B first to seal any pores to prevent air bubbles from forming.Step 3: Make sure the surface area is horizontal to the ground and leveled. Pour the epoxy on the surface all the way through the area. This epoxy self levels itself so no need to move it around with any tools. Let the epoxy fall over the edges and coat the vertical edges. The liquid epoxy that falls over the edges will form bumps and there is no need to worry about that. These can be sanded off once the epoxy is dried and cured.Step 4: If multiple flood coats are to be applied, make sure that each flood coat is less than 1/2" thick and maintain a gap of 4 hours between each flood coat.Step 5: Pop air bubbles using a heat gun or plumber torch.Step 6: Leave the surface for epoxy curing
FULL SATISFACTION GUARANTEED!!
Crystal Clear Casting Epoxy Resin: Suitable for most crafts and hobby projects such as Jewelry Casting, River Tables, Canvas Painting and Coins casting purposes etc. It comes in two parts - Resin & Hardener. These two parts MUST be mixed in precise ratio and mixed well to get best results.
Note: Make sure to store the epoxy resin jugs away from direct sunlight at room temperature around 20 to 22 deg C. Keep your project at room temperature so that the project surface is not too cold before pouring epoxy on it.
Features:
Crystal clear, high gloss and transparent, yellow resistantAutomatic leveling and anti-foamingLow set-to-touch and cure timeGoes well with pigments of all colorsNon toxic, low odor and low VOCHigh hardness after dryingGlossy like mirrorTechnical Specifications:Ratio A to B: 2.7 to 1 (by volume) OR 3 to 1 (by weight)Pot Life: 30 minCoverage: 1 thickness for 1 sq ft area needs about 2.5 L of epoxy (Part A + B)Set to touch time: 12-14 hrsCuring Time: 20 - 24 hrs (varies based on ambient temp / humidity / thickness)Surface ready to use time: 72 hrsDirections:Step 1: Wear safety glasses and gloves. Measure 2.7 parts of part A and 1 part of part B by volume (OR 3 to 1 by weight). Mix thoroughly.Step 2: On porous objects such as made out of wood, paint a seal coat of same epoxy mixture of A & B first to seal any pores to prevent air bubbles from forming.Step 3: Make sure the surface area is horizontal to the ground and leveled. Pour the epoxy on the surface all the way through the area. This epoxy self levels itself so no need to move it around with any tools. Let the epoxy fall over the edges and coat the vertical edges. The liquid epoxy that falls over the edges will form bumps and there is no need to worry about that. These can be sanded off once the epoxy is dried and cured.Step 4: If multiple flood coats are to be applied, make sure that each flood coat is less than 1/2 thick and maintain a gap of 4 hours between each flood coat.Step 5: Pop air bubbles using a heat gun or plumber torch.Step 6: Leave the surface for epoxy curing
MSDS can be downloaded from here
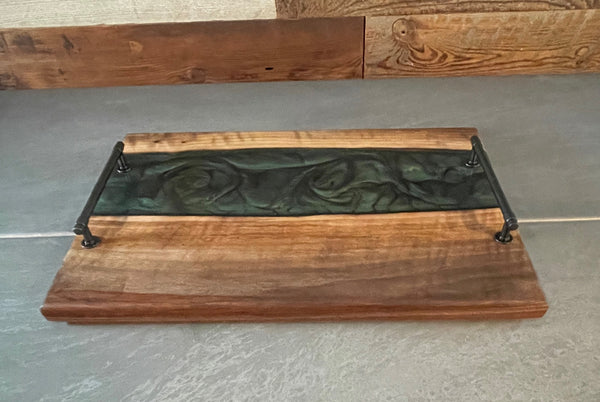
Walnut and Forest Green Epoxy Serving Board by Rustic Mountain Chic (Rustic Mountain Chic), Kitchen
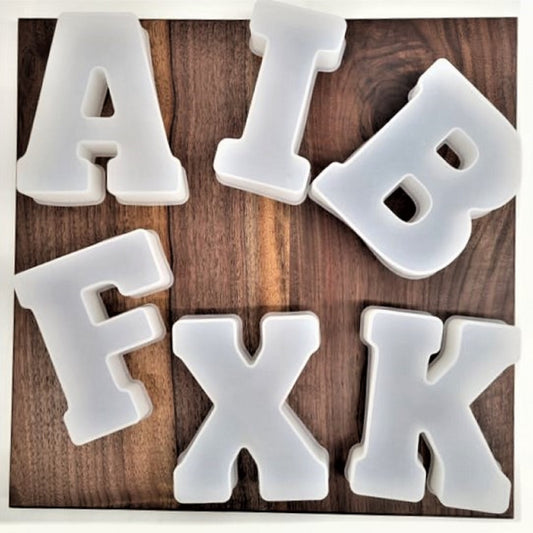
Silicone Molds For Epoxy Resin – Trustic

Wall Clock Epoxy Resin Decorative Resin Rustic Wood Clock for Wall Home Gifts
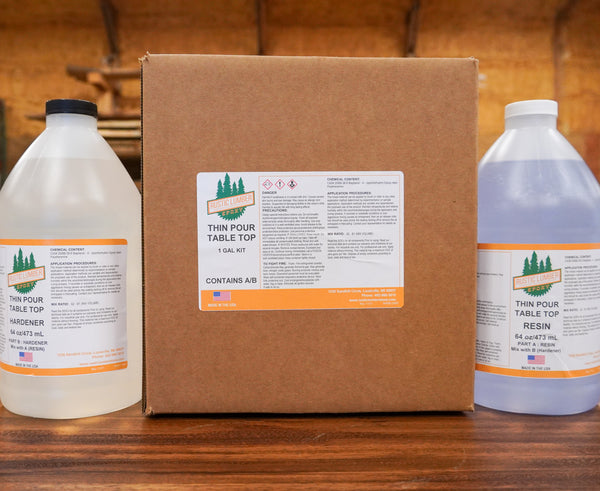
Rustic Lumber Epoxy Thin Coat
Epoxy Resin, Table & Bench Legs, Wood Finishing Oils
Trustic Epoxy Hardeners recalled due to improper labelling and lack of child-resistant packaging - Canada.ca
Use these molds with our General Casting Epoxy Resin to create interesting objects. Just mix and pour the resin into the mold and let it sit for
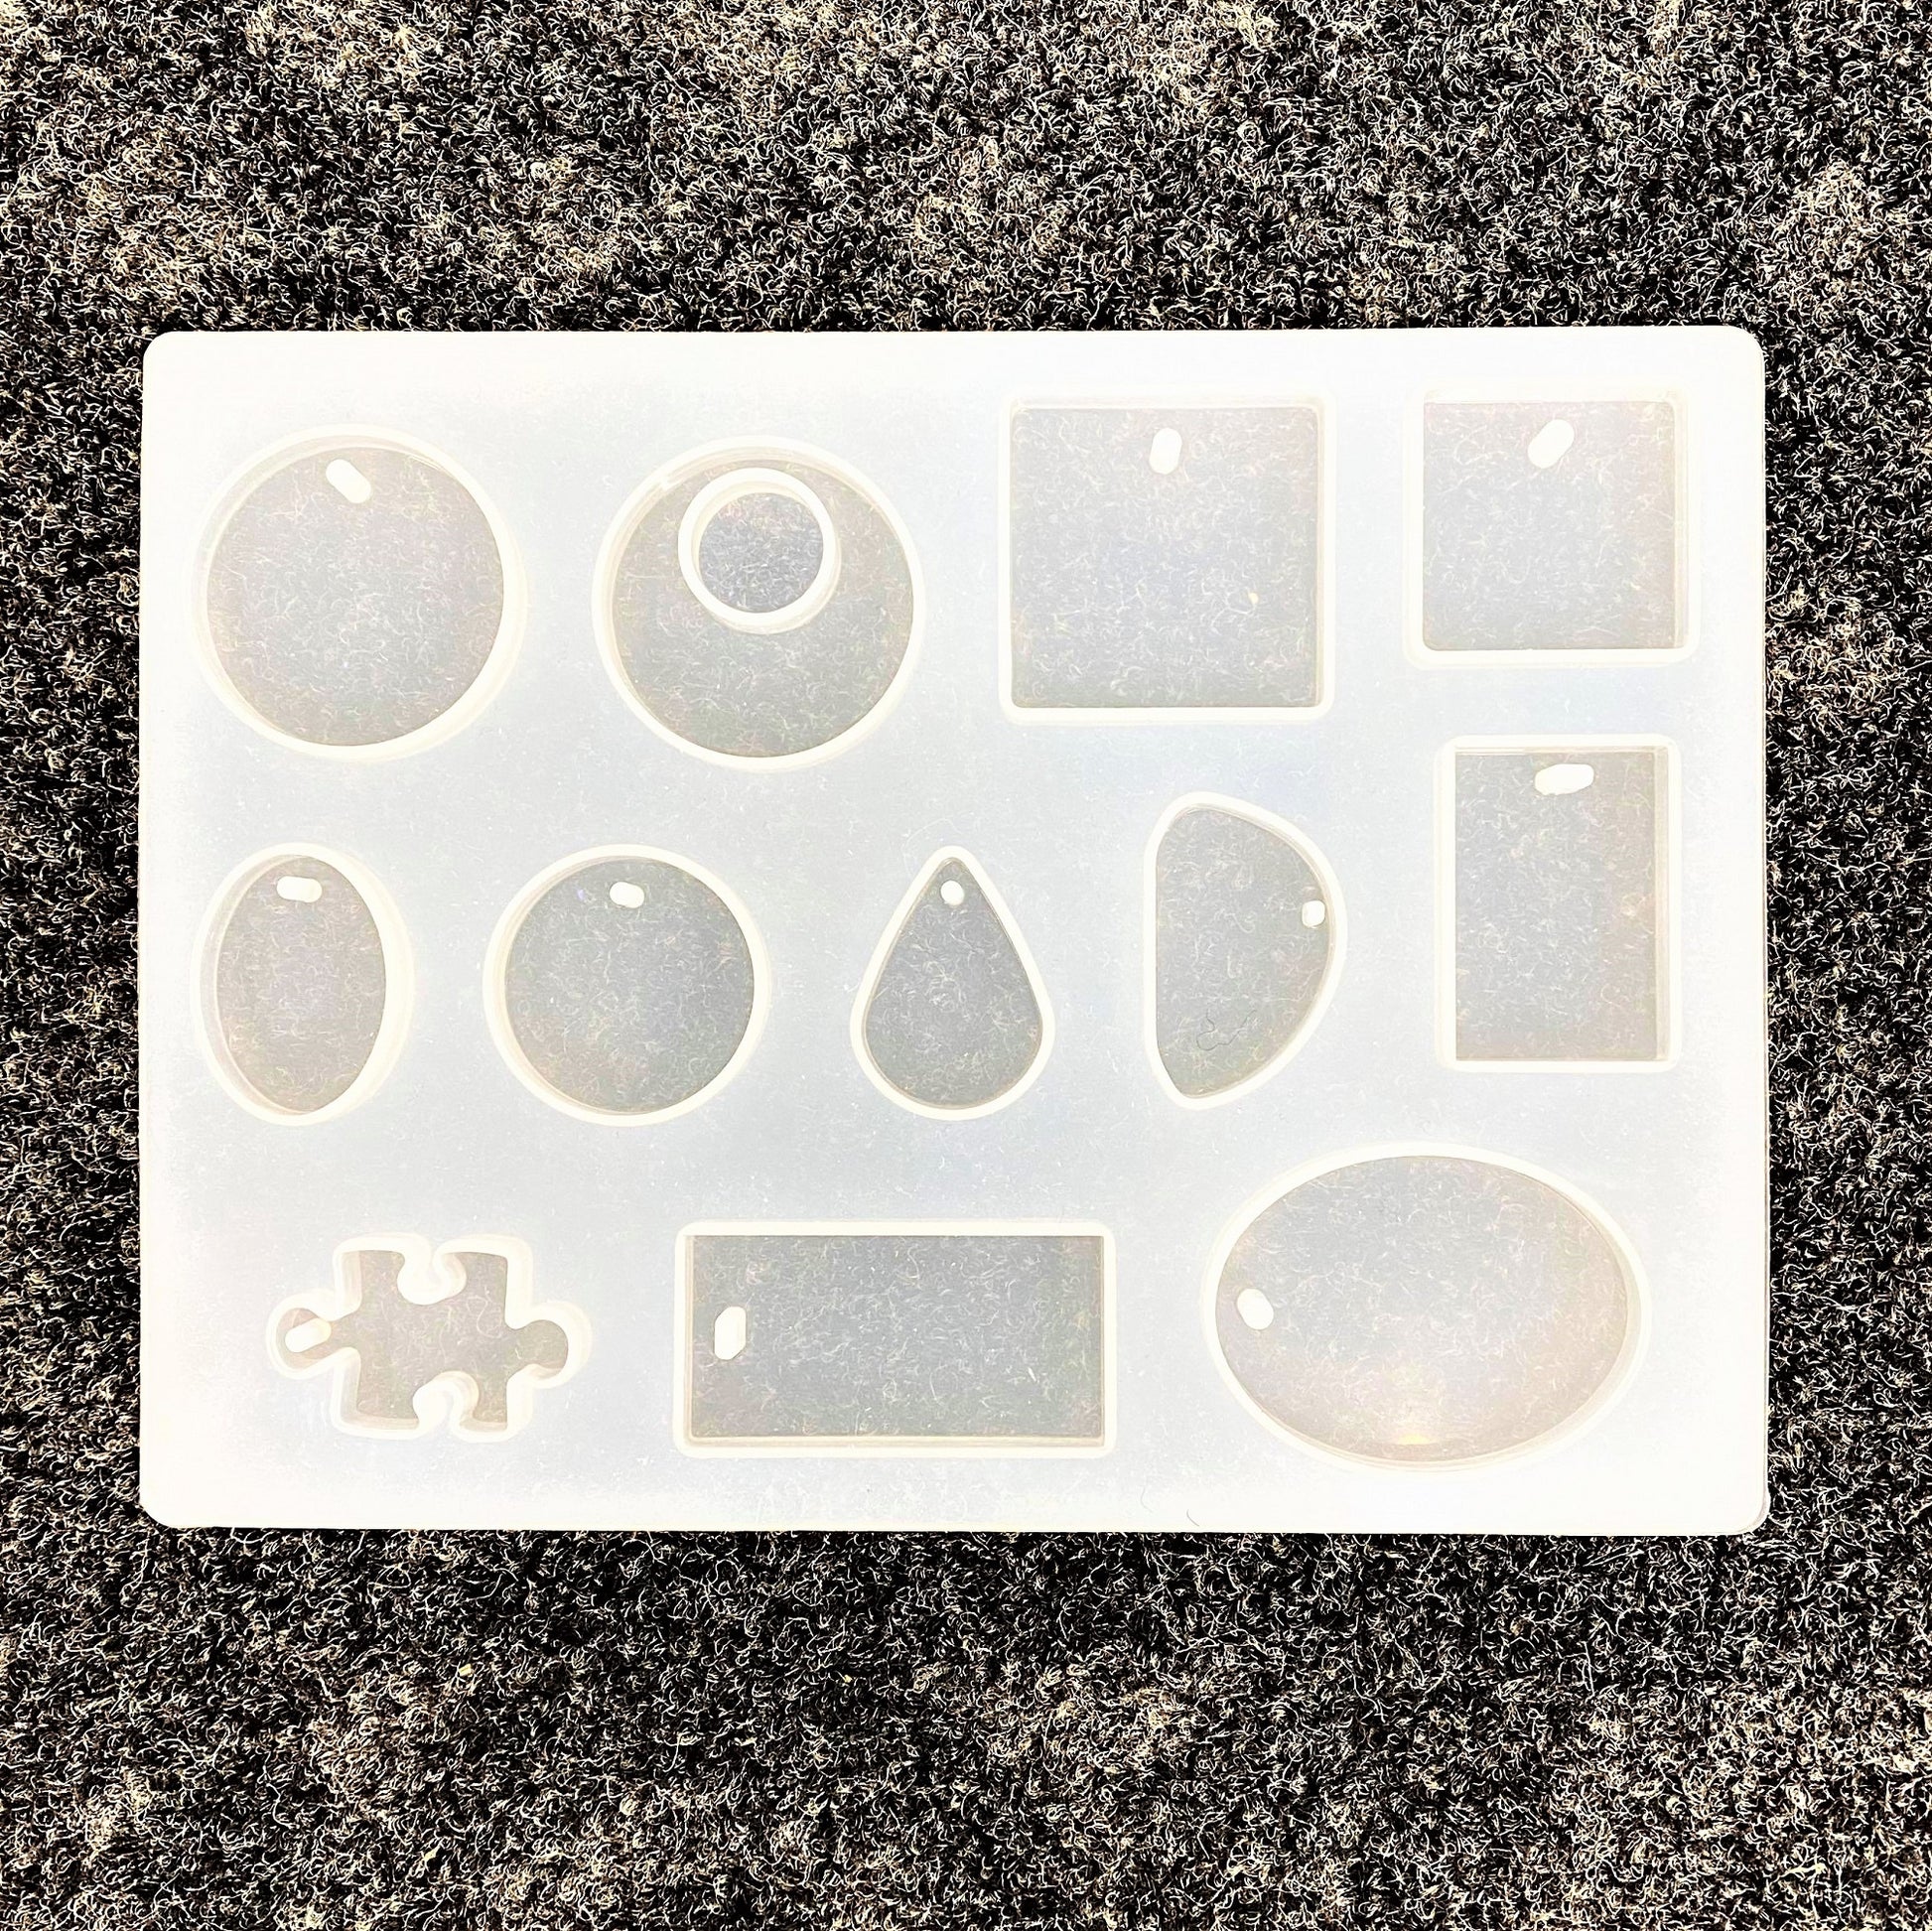
Silicon Molds for Epoxy Resin Objects
FULL SATISFACTION GUARANTEED!!, Surface Coating Epoxy Resin: Suitable for coating of large surface area such as Countertops, Indoor Flooring,
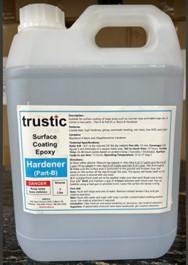
Surface Coating Epoxy Resin

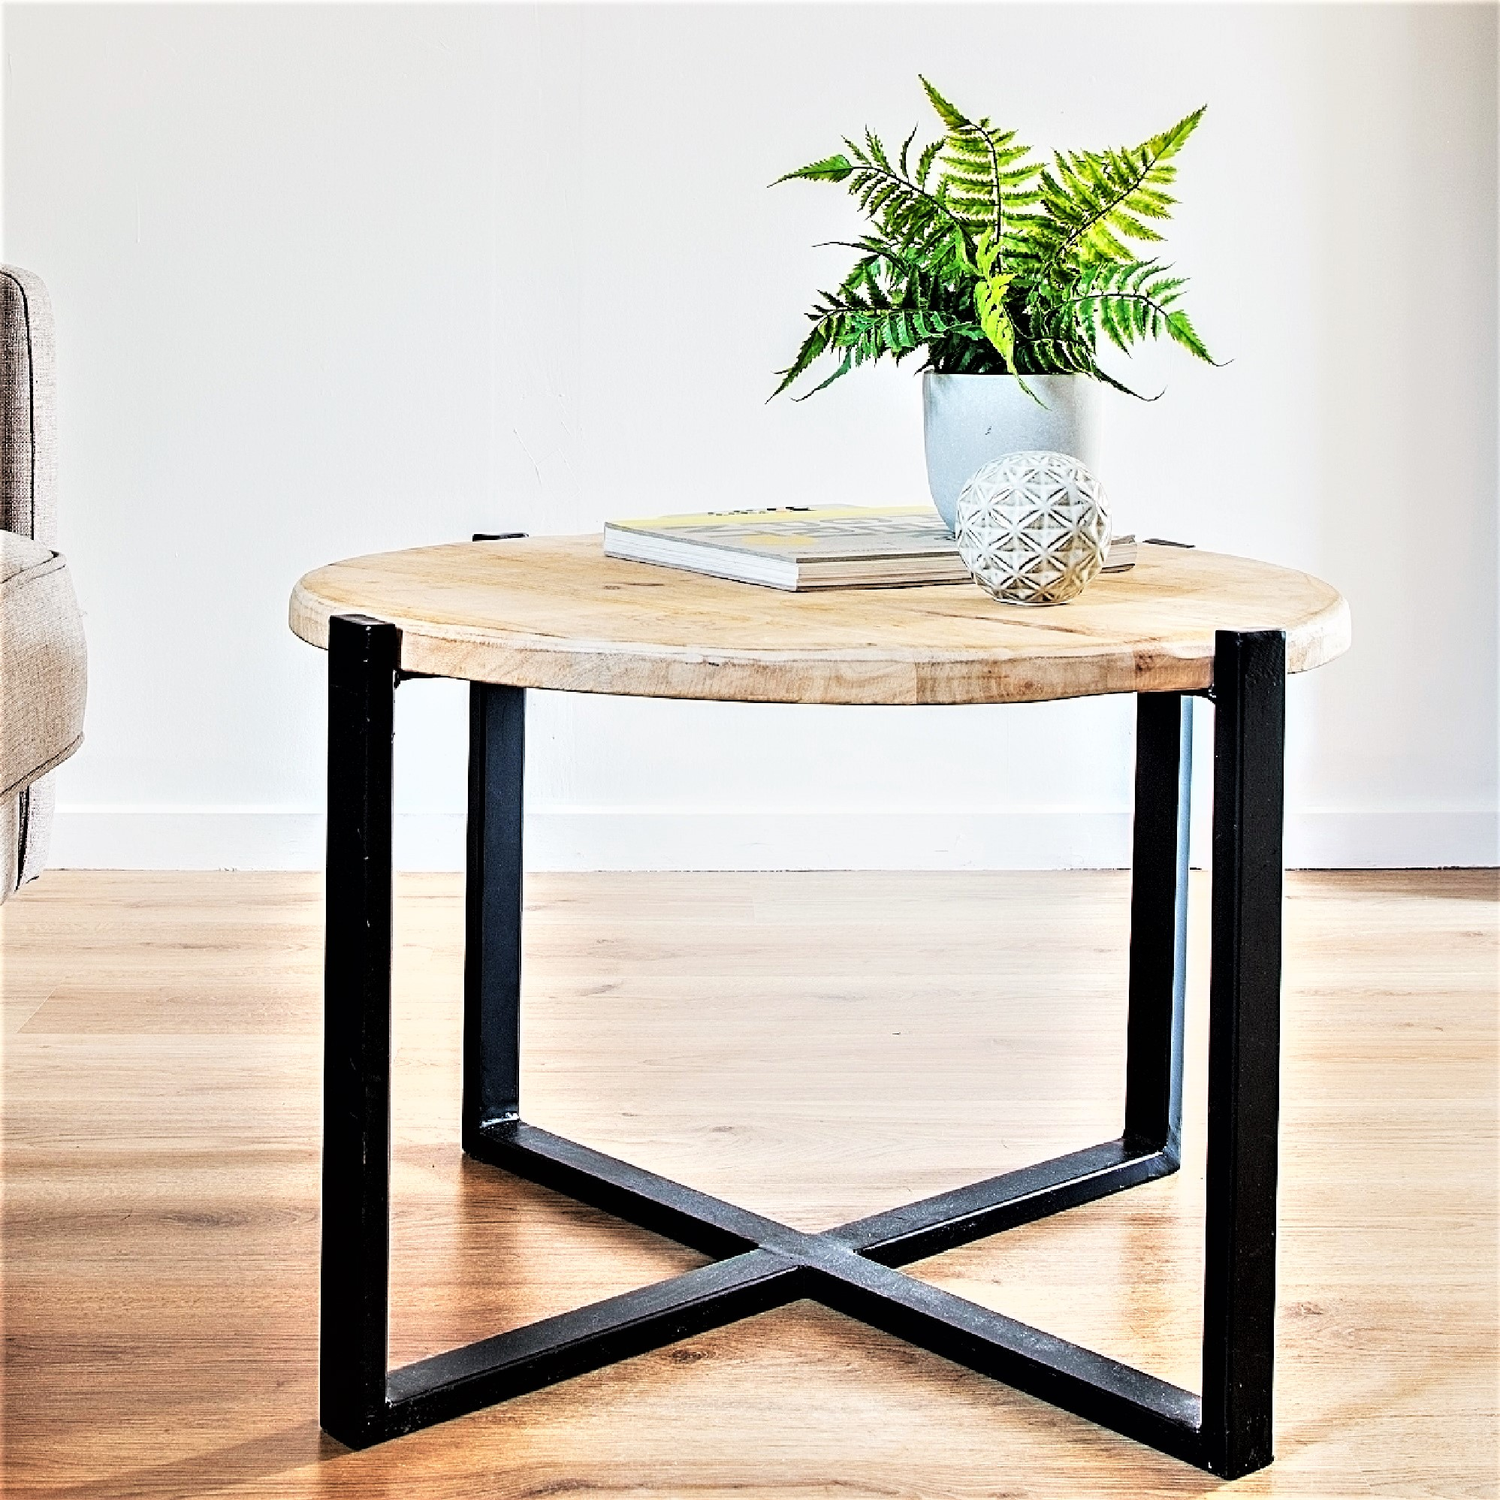
River Table, Epoxy Resin Table Top Acacia Wooden Rustic Table Decors
PRODUCT RESTOCKS AND SHIPS OUTS AUGUST 1ST. THIS SALE IS A PRE-BUY. Rustic Lumber Epoxy brand. NEW LOWER PRICE, FREE SHIPPING! 1 GAL KIT // Rustic
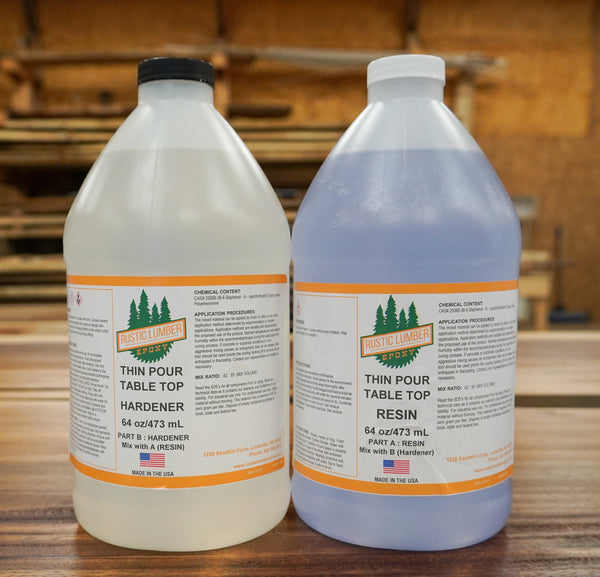
Rustic Lumber Epoxy Thin Coat
Custom live edge epoxy resin table, Black epoxy table by Brave Wood
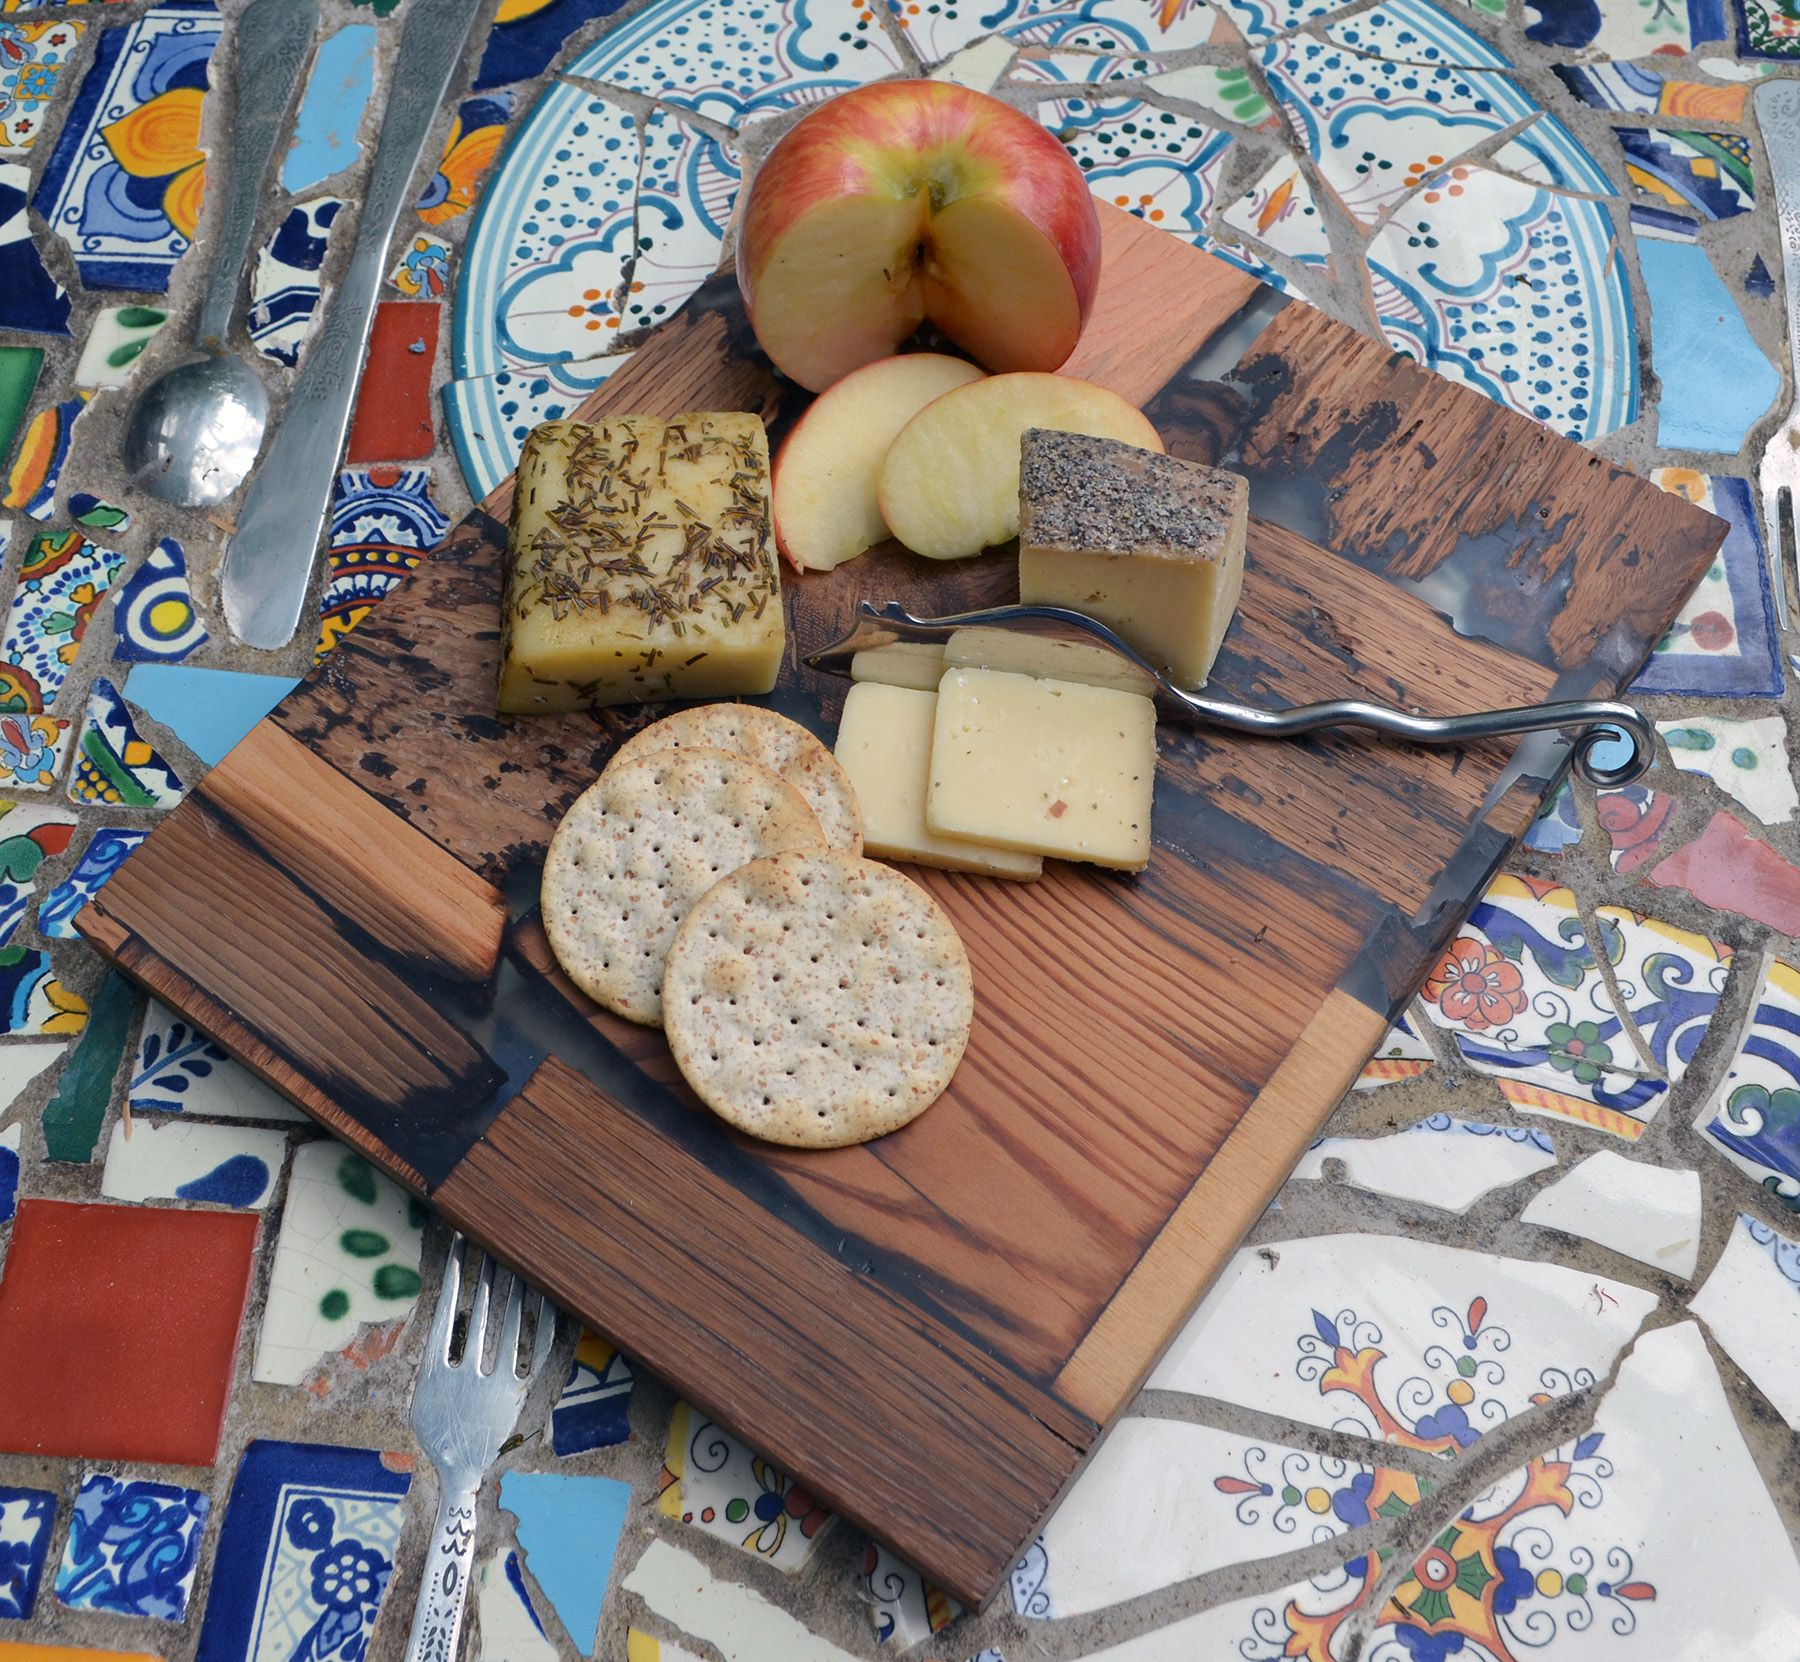
Handmade Rustic Wood Mosaic Epoxy Resin Serving/Cutting Boards by Abodeacious

Trustic (@trustic_ca) • Instagram photos and videos